Welcome back, friends! We're nearing the end of the Modern Simple Homemaking series, but there are still a few helpful subjects yet to discuss, and today is one of my favorites...sewing!
There are about a million ways learning to sew has practical applications today, and although some people see it as a outdated skill, I can't tell you how many people have said, "Oh! I didn't know you could sew. Could you help me with ______?" It's definitely a commodity...even if you're like me and not super great at it.
6 reasons that learning to sew is a super friendly thing to do:
Home-Friendly
Sewing is especially helpful for simple household projects like throw pillows, pillow cases, curtains, table runners, napkins, aprons, kitchen towels, etc. For household sewing project inspiration, check out:
Wardrobe-Friendly
Making clothes is a bit more difficult in my opinion, but it can definitely be helpful to know how to mend or alter clothing, even if you don't make it from scratch. So far, I've attempted: a couple skirts, pajama pants, a girl's dress, and some Halloween costumes. When looking at making clothing, keep in mind that it takes much more time than simpler projects and may not always been cost-effective. Altering secondhand wearables, though, is another story!
Note: if you want to some serious clothes-altering inspiration, check out New Dress A Day
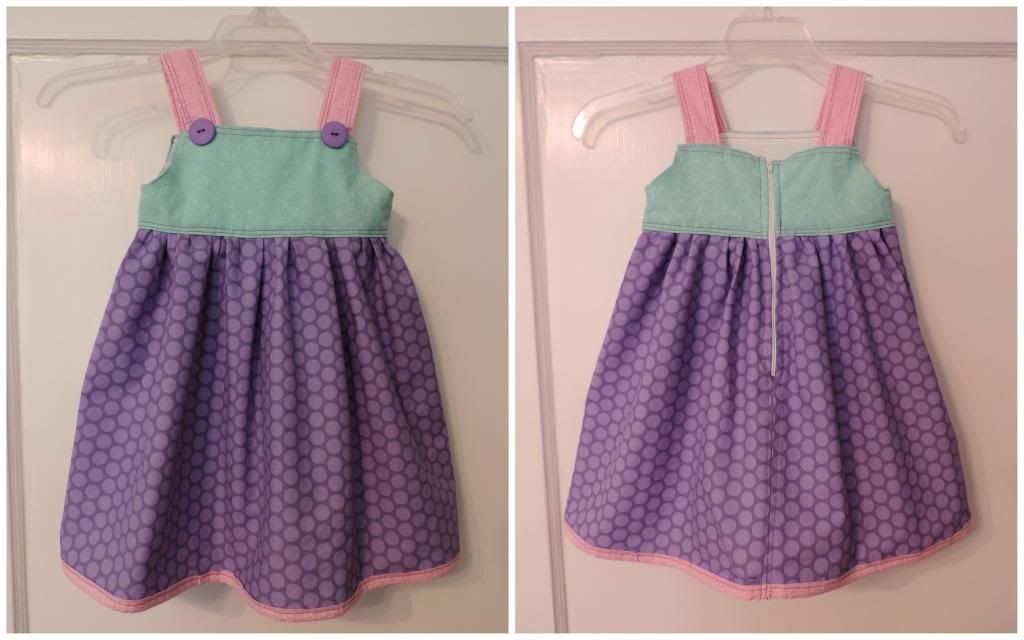 |
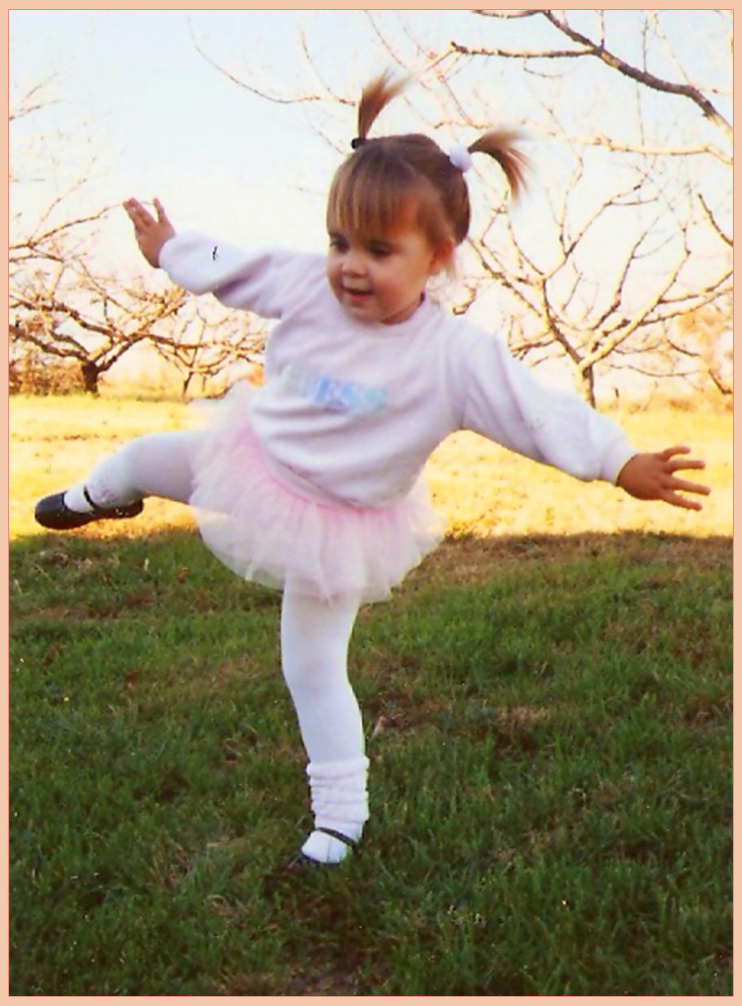
| for my niece who should feel loved because to me, sewing clothes is complicated |
Learning to make items yourself opens up a lot of opportunities to save money. Have you looked at the price of cute store-bought pillows?! It's insane, especially when using discounted fabric or repurposed fabric can create unique pillow covers for next to nothing!
Earth-Friendly
Sewing is a great green option, especially if you are creative with your fabric sources. Naturally, there are tons of new fabrics on the market, but t-shirts, old towels, sheets, and scraps from other projects can all be recycled and upcycled into new items. Psst...many thrift stores have sections with bulk fabric at great prices too!
Friend-Friendly
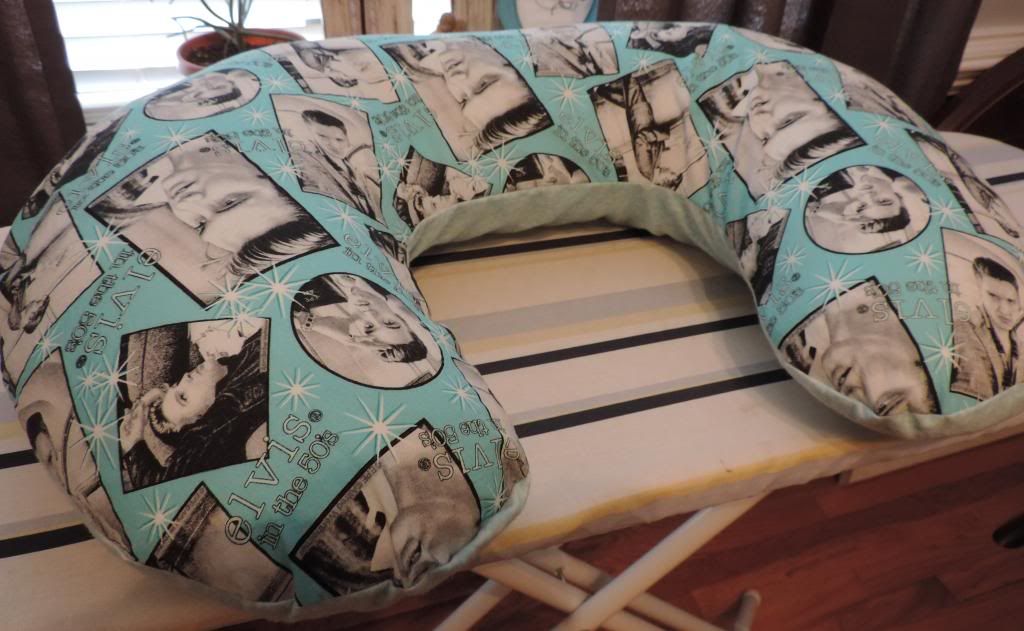
Have I mentioned how awesome home-sewn gifts are? Whether it's repairing a friends work apron (which I've done several times), making custom quilted hot pads to match their kitchen colors, or giving a new mom a unique boppy cover...I've yet to find someone who doesn't appreciate homemade fabric gifts.
Sense-of-Self-Friendly
Knowing you possess such a practical skill is a great feeling to have. Even if you aren't a fantastic seamstress or competitive embroiderer, there is confidence that comes along with real-world skills. Plus, there is immense satisfaction in seeing something really cute and being able to say to yourself, "No way I'm paying that for that...I'll go home and make it myself!" **Cue taking phone photos in the aisle of your fav home goods store**
So now you know that sewing is an awesome thing that everyone should be able to do at least a little bit. Where to go from here? I'm glad you asked!
Find my favorite sewing blogs on my Sewing page. Also, check out these great beginner resources:
And of course, try your local craft or fabric stores to see if they offer classes. Better yet, ask some older women in your community or church...they probably know it all and would love the chance to share it!
AND NOW...a quick, tutorial on How to Make a Plastic Bag "Sock"
All you need is a spare bit of fabric, a short length of elastic, straight pins, and a safety pin.
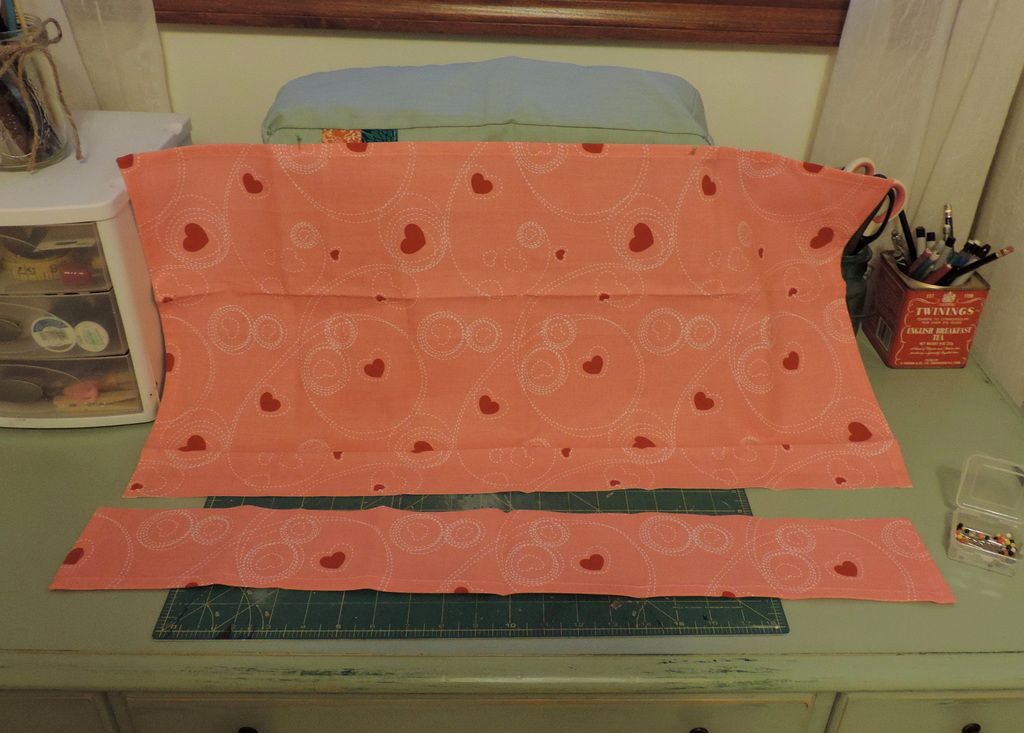
First, grab a spare bit of fabric (I repurposed a dollar store Valentine's napkin) and estimate how long and wide you want the sock to be. I think this sock ended up around 6" x 22" so the original cut would've been 12" x 22".
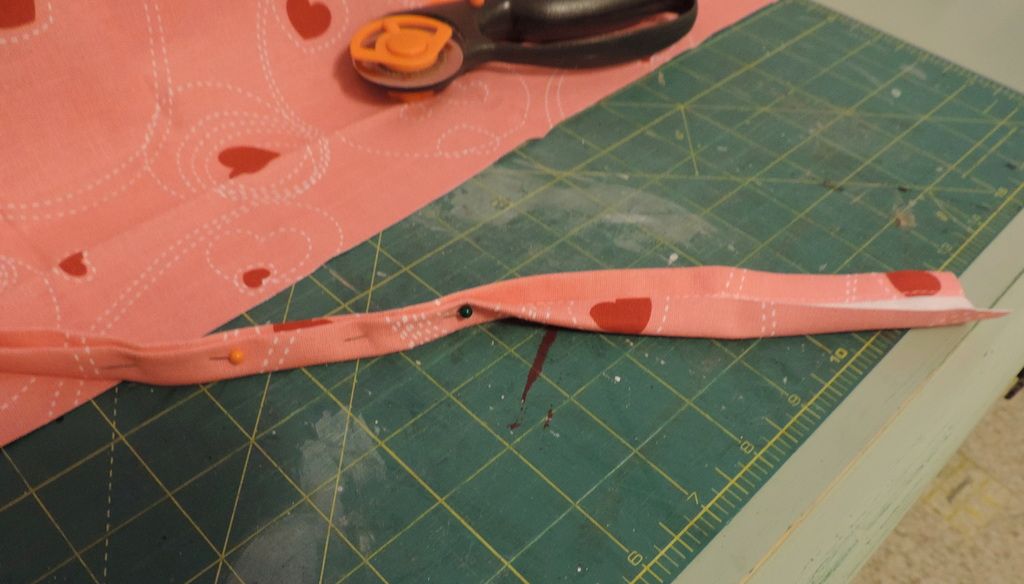
Set the main piece aside and use a length of clipping to form the handle. To do this, cut a piece a little longer than you'd like the handle and about 4" wide. Fold it in half and iron the crease the fold both of the outer edges to meet in the middle, iron again. Pin this together and the rough seams should be concealed inside (fun fact - this is also the basic idea when making quilt binding).
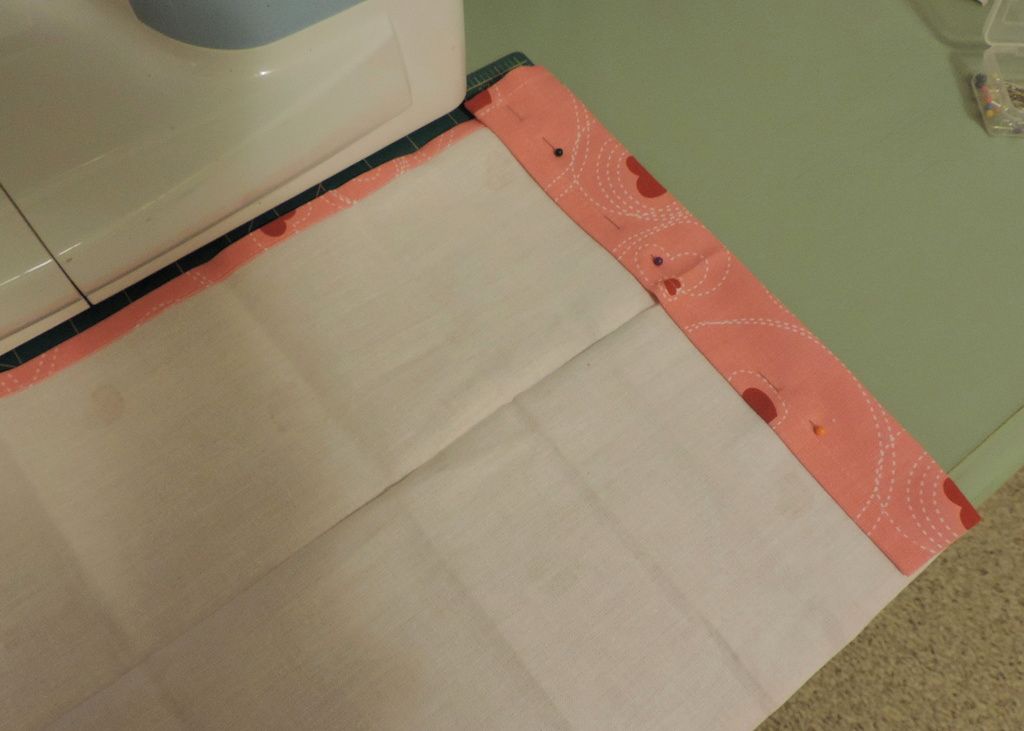
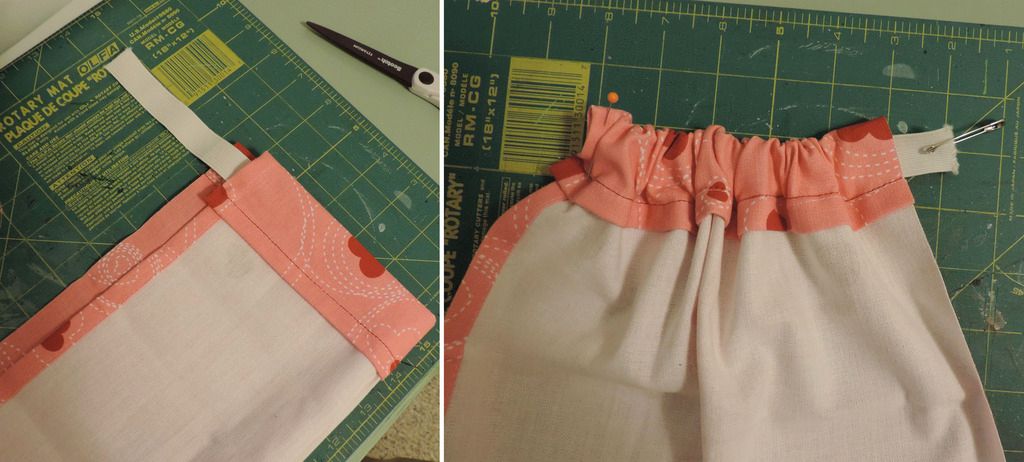
Next, go back to your main piece of fabric and fold up the end. This will enclose the elastic at the bottom of the sock. Make sure to make the fold deep enough for your piece of elastic to fit inside. Sew along the top edge to form a little tunnel. (You can also do this on the opposite end to create a small top seam there but the napkin I used already had a seam on that end.)
Take your length of elastic and put the safety pin through the end. Holding one end, use the safety pin to push the other end through the "tunnel" of the seam you just created. Once it's through, trim any excess and safety pin both ends together so it doesn't snap back through.
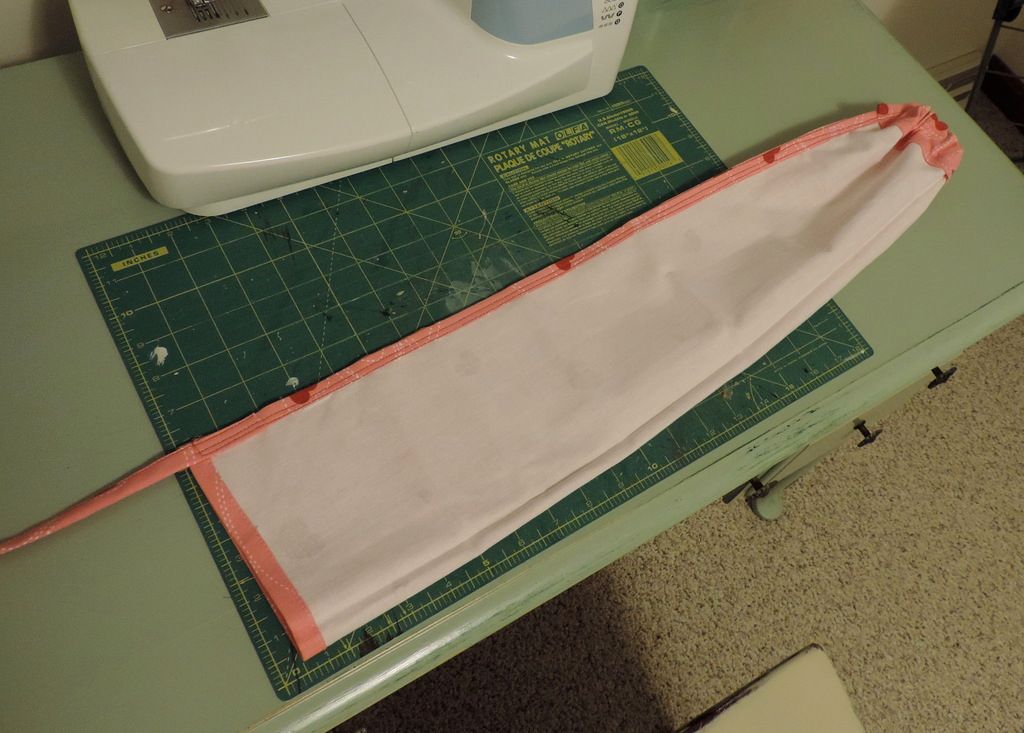
With the printed side of the fabric on the inside, line up the long edges and pin them together. Also carefully remove the safety pin and instead put a straight pin through the elastic and the end of the long-edge-seam. On the opposite end, lay one end of the handle along the edge of the seam and pin that in place. Sew down the whole length (twice for extra sturdiness).
The last step is to line up the free end of the handle on the seam on the opposite side of the bag. Put a few stitches there to hold it in place, trim any extra length. Turn the whole thing inside out and start stuffing bags!
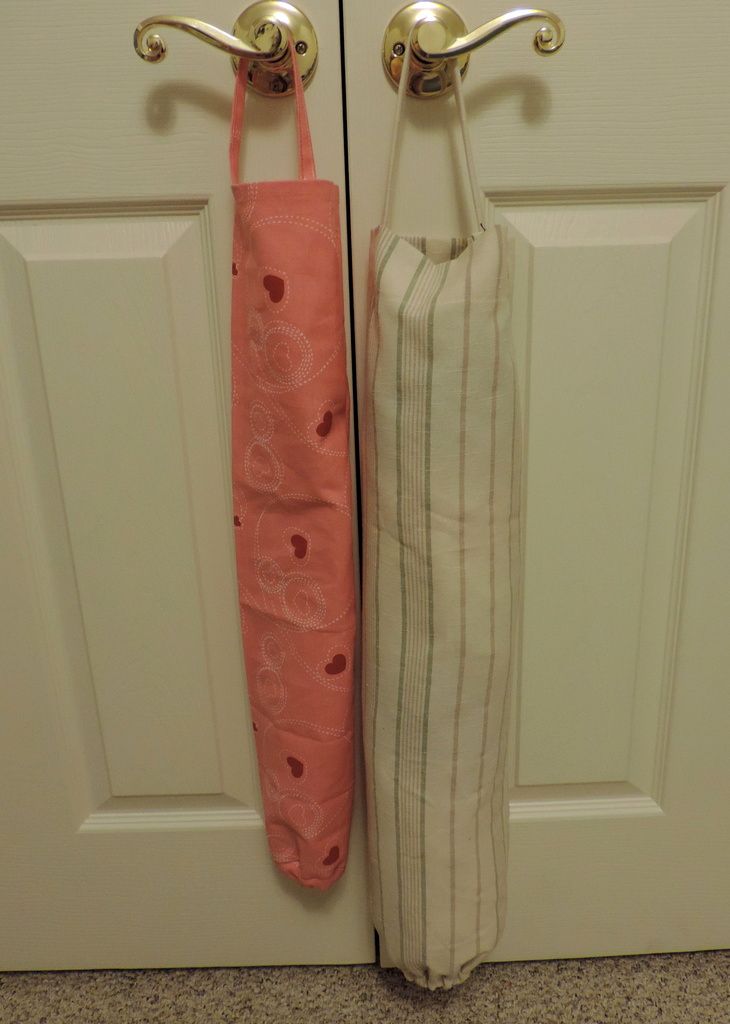
Ours (the bigger, not as cute one) hangs on a wall hook inside the laundry closet. We use reusable grocery bags so we don't end up with too many extras, but somehow they always seem to creep in in other ways. We use them mostly to line smaller trash cans around the house. If the sock gets too full, I take them to be recycled.
Total cost = $0
Total time = 35 min
This is certainly not a "fancy" sewing project, but it's a great example of why basic sewing skills are still relevant and helpful today. This household sewing project is easy, practical, and made a great (and free) housewarming gift for a friend's new apartment!
Sidenote: during a recent market day downtown I saw two different stalls selling these exact same style bags, just more uniform looking. Avg price = $15-$20.
Only a couple weeks left! Make sure to come by next week for another fun segment on homemaking made simple!
This post is part of the Modern Simple Homemaking series.
To learn more about this series and see other posts, click the button above.

