
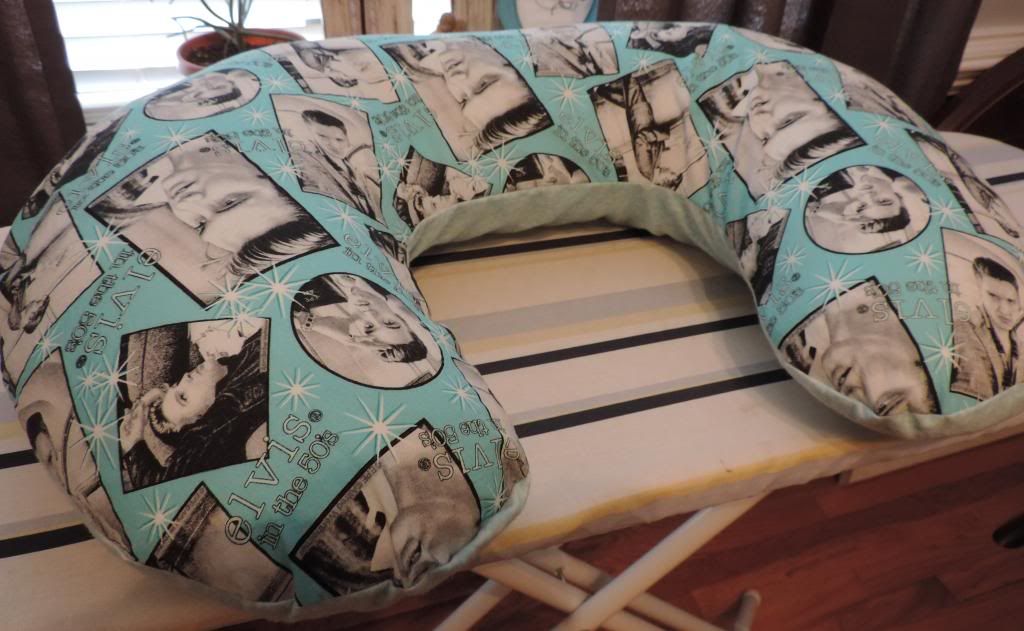
First of all - if you don't know already, a Boppy is a multipurpose u-shaped pillow designed for feeding infants. There's a variety of covers available from the manufacturer in different prints and fabric types, but a homemade one customized to match the nursery colors or in a print the mom likes is a great gift.
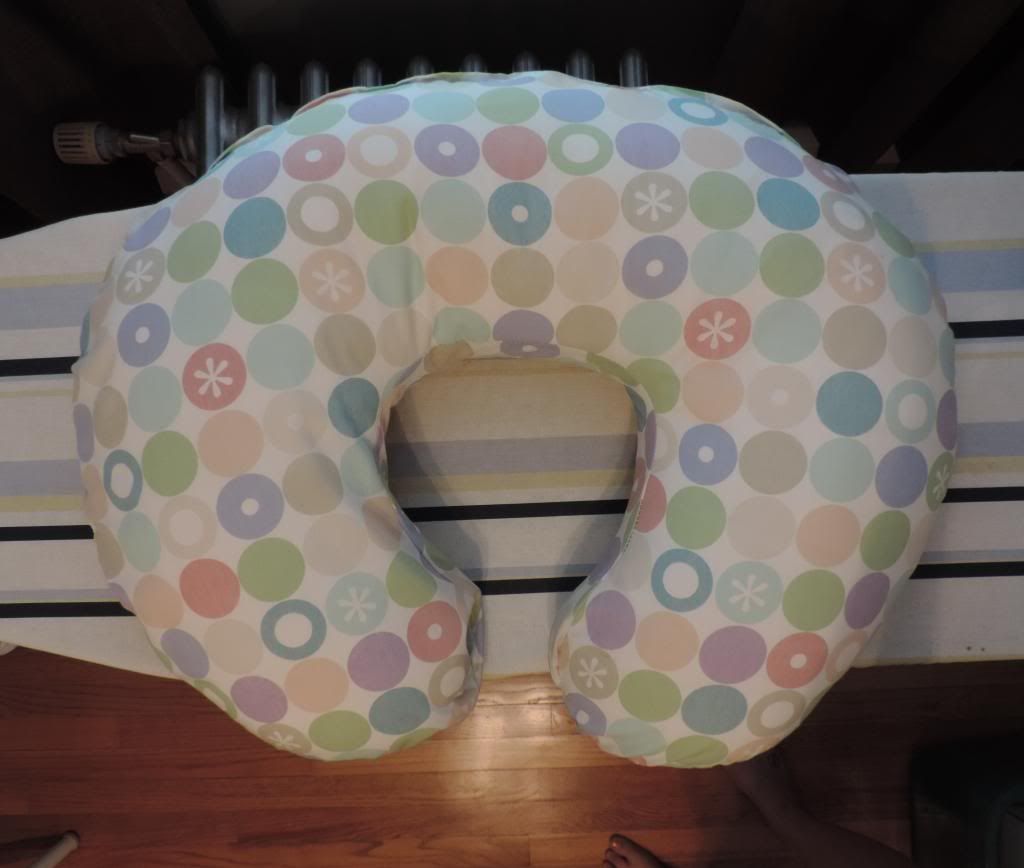
This project really only requires 2 yards of fabric and a zipper. There are lots of homemade patterns online for making Boppy covers, but the one I printed was confusing so I scrapped it and just borrowed an actual Bobby with a store-bought cover from my cousin.
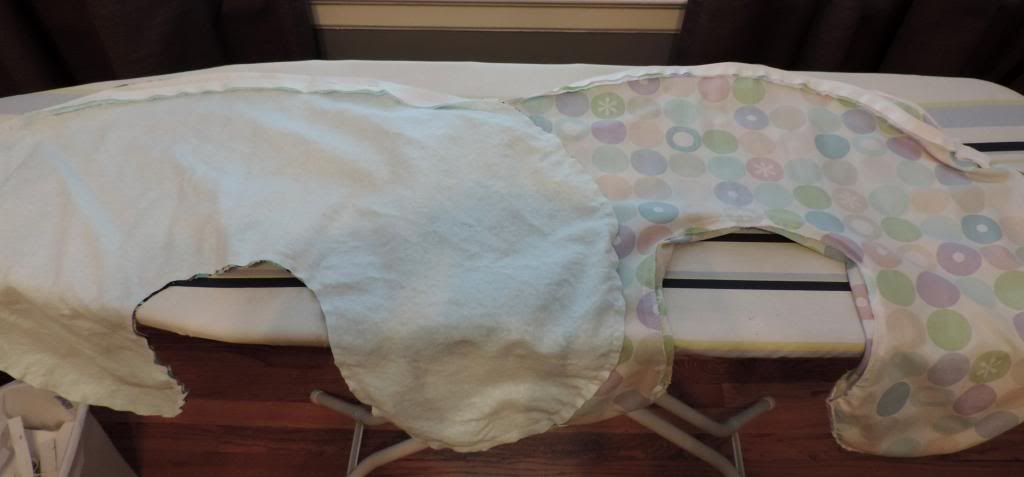
To begin, turn the cover inside out and lay it on top of your two fabric yards - these can be the same or different. I chose to use the cotton print for the top and a simple print flannel for the bottom. Pin the cover to your fabric or trace around it using a washable fabric pencil. Leave around a 1/2" of room for the hem all the way around. Thankfully, given their shape, Boppy's are pretty forgiving so if your hems are a little off, no one will really notice. Cut two "U"s out of your fabric (or one of each if using two different pieces).
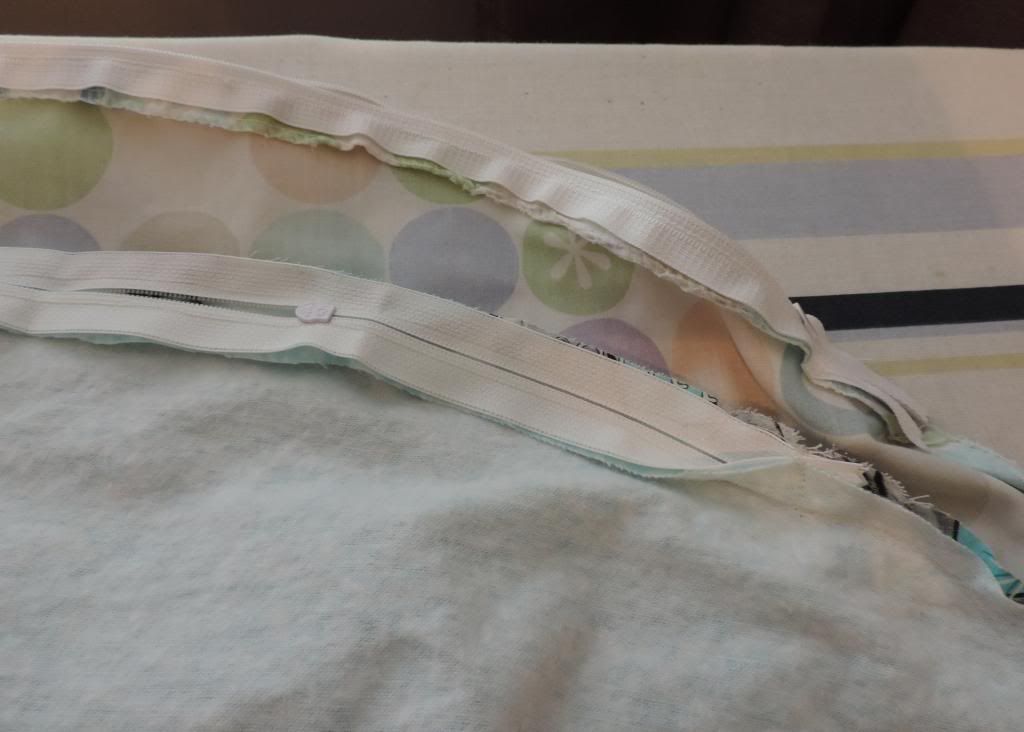
Before sewing, make sure your two pieces of fabric are facing each other with the RIGHT SIDES on the inside. Next, follow the directions on the zipper to install it into the top seam - a longer zipper is nice so it will be easier for mom to take it off and on (I used an 20" I think).
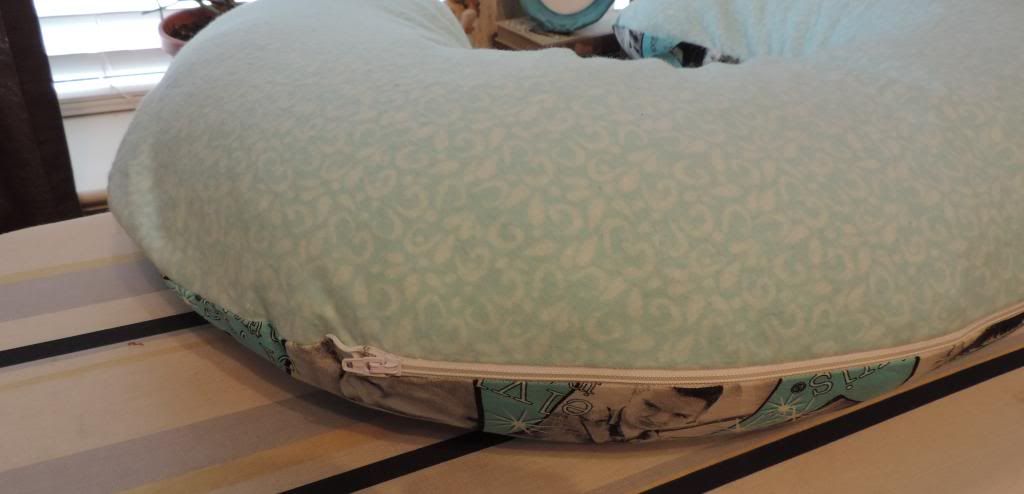
Below is the bottom-side up first with a view of the completed zipper.
Next up: another secret gift and some cloth napkins for Strider and I.
No comments:
Post a Comment
Thanks so much for your comment! I really love reading them and look forward to hearing what you have to say!