The Trial: Although initially perceived as a super fun pre-wedding checklist item, completing and maintaining our wedding registry has been a veritable nightmare...a time-suck that recently resulted in me arguing with a "clearly-not-really-named-Dave" Target customer service representative.
Regarding dinnerware, I went, as brides throughout history have done, straight to a reliable source...a trusted name grandmothers and mothers everywhere tout without exception: Pfaltzgraff. We immediately found a gorgeous pattern that we both loved, and I set to work coordinating the rest of our kitchen accoutrements. Then came the product reviews...DUH DUH DUH...it became clear that this once-great dinnerware titan has fallen. Apparently, no one is immune to the reduced price tag of exported labor. Dinnerware choice #1 - Disqualified for poor performance and sustainability. You would have been well loved.
To make a long story short, I regrouped and re-registered for our second choice set. Then, we watched sadly as our second, third, and fourth dinnerware choices were each quickly discontinued and labeled "Out of Stock" in turn. Curses upon you Target and Bed Bath & Beyond.
The Tribulation: Strider and I randomly visited an antique emporium in a nearby town where lo-and-behold there lay a beautiful dinnerware set. Only missing one plate, this almost complete set was pretty, sturdy, and wait for it....... ....only $30! We looped the store to make sure it wasn't just a trick of the light, but returned to realize, that this was it, boys. Our dinnerware search was done. It's a wrap! (Seriously though, it requires a lot of bubblewrap to box up an entire dinnerware set.)
All in all, I'm thrilled just to take the stupid plates off the registry and to think of our sweet post-wedding antique dinnerware all snuggled way up in the cabinets, just awaiting their new life in January. Plus, we may still get some of the cool other dining stuff that is still on the registry to go with them, who knows.
Instead of telling you about all the other items that we've also had to replace due to being discontinued (it's a shocking long list, folks), I'll just share a pic of our gorgeous new plates.
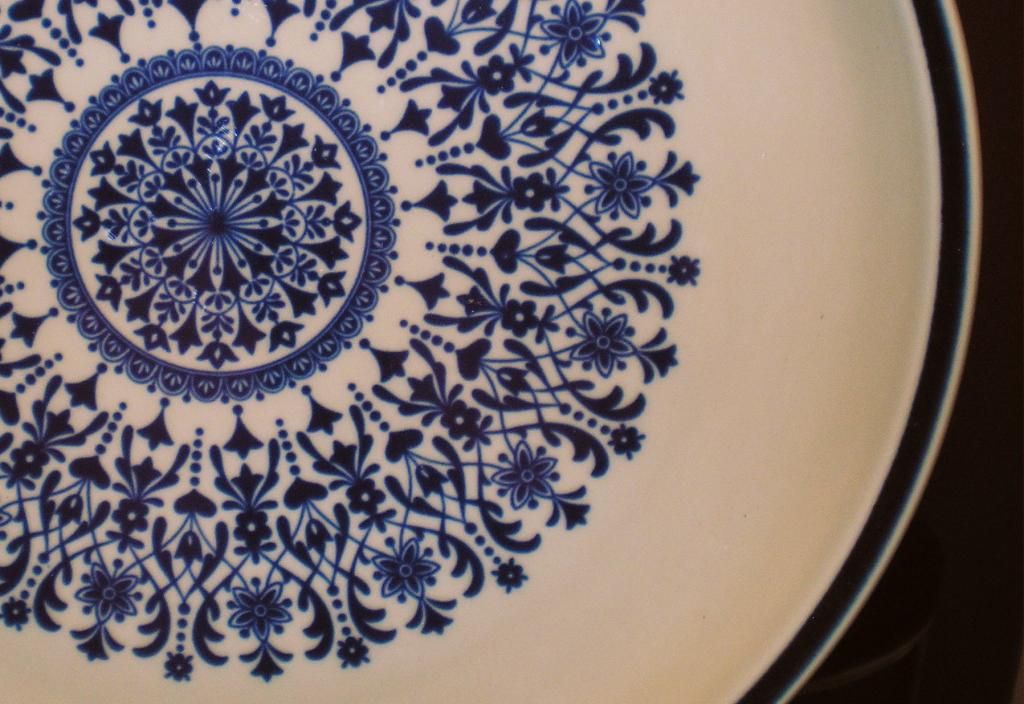
Yaaayyy!
To make a long story short, I regrouped and re-registered for our second choice set. Then, we watched sadly as our second, third, and fourth dinnerware choices were each quickly discontinued and labeled "Out of Stock" in turn. Curses upon you Target and Bed Bath & Beyond.
The Tribulation: Strider and I randomly visited an antique emporium in a nearby town where lo-and-behold there lay a beautiful dinnerware set. Only missing one plate, this almost complete set was pretty, sturdy, and wait for it....... ....only $30! We looped the store to make sure it wasn't just a trick of the light, but returned to realize, that this was it, boys. Our dinnerware search was done. It's a wrap! (Seriously though, it requires a lot of bubblewrap to box up an entire dinnerware set.)
All in all, I'm thrilled just to take the stupid plates off the registry and to think of our sweet post-wedding antique dinnerware all snuggled way up in the cabinets, just awaiting their new life in January. Plus, we may still get some of the cool other dining stuff that is still on the registry to go with them, who knows.
Instead of telling you about all the other items that we've also had to replace due to being discontinued (it's a shocking long list, folks), I'll just share a pic of our gorgeous new plates.
Yaaayyy!