There are a million different tutorials for similar binders, so just find something that works for your individual cooking style. First, figure out how many sections you want. Though I got a little overzealous with the dividers, you can use all or some of the following and combine those that you might not use as often:
Breakfast, Breads, Salads, Soups, Pastas & Pizzas, Beef & Pork, Chicken & Turkey, Seafood, Veggies, Sides, Crockpot, Cakes & Cookies, Pies & Pastries, Other Desserts, Canning, Kitchen Tricks & Info, and Other
I used an extra 3-ring binder I had at home, then headed to Hobby Lobby and Office Depot to pick up other supplies: scrapbook paper, dividers, and page protectors. Regarding paper, choose one per section, plus one for the front cover. I used the larger pieces and cut them down to size, but you could easily just get 8.5"x11" and skip that step.
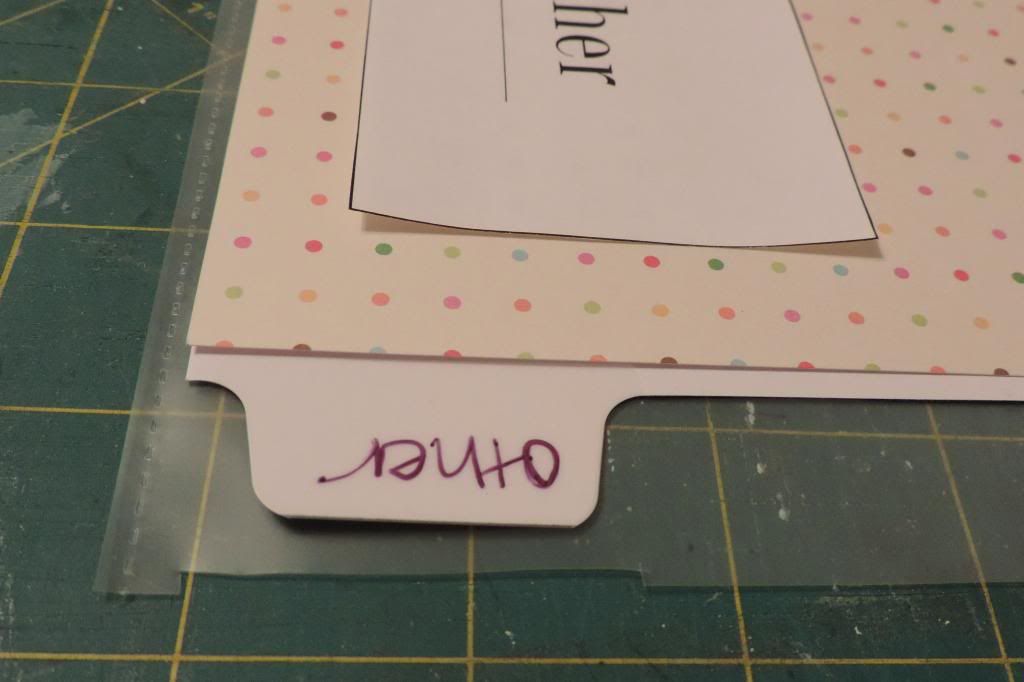
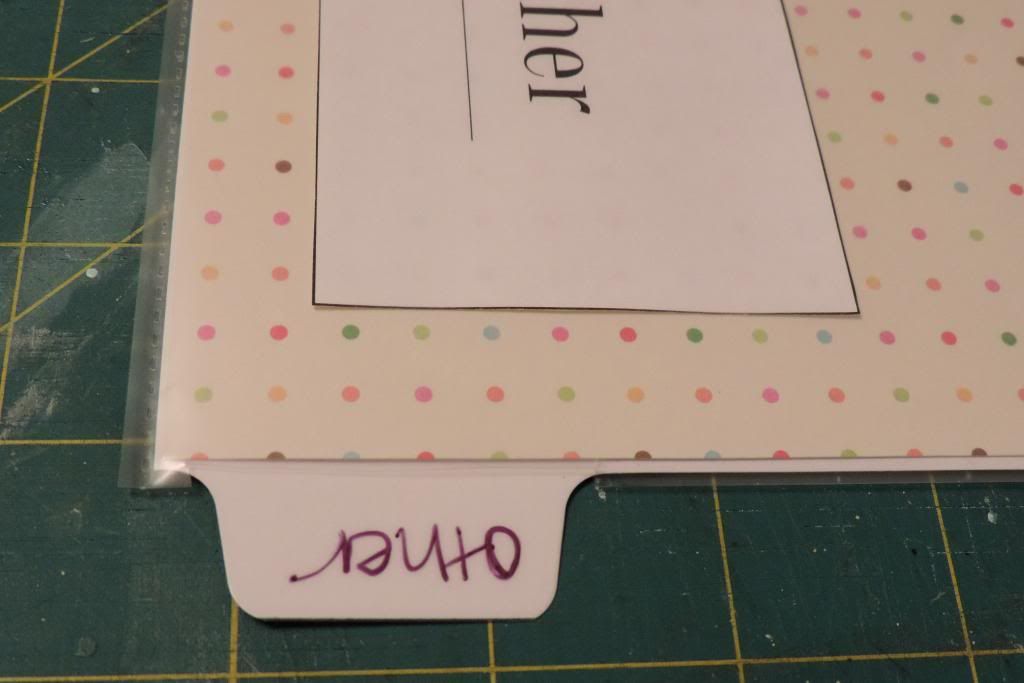
Taking a clue from another brilliant blogger (which I don't remember the name of at the moment), I decided to put the dividers into page protectors as well as the recipes, so that the tabs stick out further than the recipes once in the binder. To do this, lay each divider out on top of a page protector, then cut a 1.5" notch out of the edge of the protector so you can feed the tab through the notch once it is inside the sleeve. If this is confusing, see the before and after below. Just make sure not to cut all the way to the bottom or top of the protector sleeve.
I made simple square labels for each section in Word then just did handwritten labels on the tabs. Just tape your labels onto the scrapbook paper, line it up with the divider page, and slide it all down into the same protector sleeve. This is a little awkward at first but gets easier the more you do. Use the remaining sheet of scrapbook paper for the front of the binder and the spine. All done!
Project cost: $0 binder at home, $5.50 for scrapbook paper, $5.50 for 16 dividers, $12.50 for 100 protectors = $24 for a collection that will last ages! Now, just add recipes as you find ones to try or to store ones that you already love.
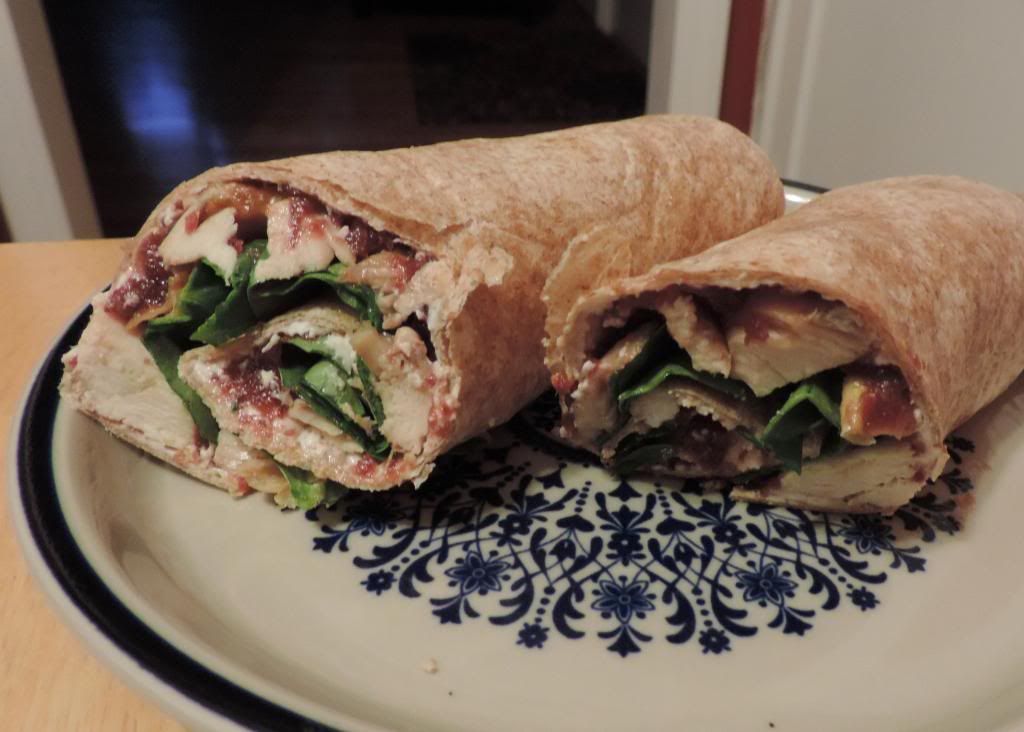
For example...these super tasty wraps Strider and I enjoyed for dinner last night!
Chicken-Spinach Wraps with Cranberry Chutney
For chutney:
1 cup dried cranberries
2 Tbsp balsamic vinegar
1/2 to 1 Tbsp brown sugar (recipe called for 2 but we felt it was a little too sweet)
1 chopped shallot
1 tsp grated orange zest
a pinch of salt
Combine all the above in a small pot with 1/2 cup water. Bring it to a boil, cover & reduce heat to med-low for 5-8 minutes. Remove from heat and let it cool. Transfer to a food processor and pulse until it reaches the consistency of jam.
To assemble wraps, spread whipped cream cheese over a wheat tortilla, spread chutney over that, add chicken or turkey breast and a small handful of fresh spinach leaves. Carefully roll it all up and enjoy. Easy, fairly healthy, and delicious.


I love this recipe binder! What a quick and easy way to personalize it! I like the plastic page protectors too so that you can trade them out if they get messy or add more if you need to. Thanks for sharing:)
ReplyDeleteUm... I think the tip about cutting a slit in the sheet protector so the binder tabs stick out far enough just changed my life. And with that tidbit in my mental arsenal, I might have the motivation I need to organize my pile of sheet-protected, written-on recipes into a binder (instead of the current "shove them all into a manila folder, most recently used recipes on top" system I have going on at the moment...)
ReplyDeleteAnd for the record, I'm all for more categories. I'll probably add "sandwiches", "snacks", "sauces and condiments" and "holiday" to your beautifully extensive list! :)