Well, according to Target.com's wedding registry page, there are only 45 days till the wedding!
And though the picture is awful, can I get a "woot woot" for my dress coming in a full week early?!
Mom and I drove out to pick it up today and took it straight to the alterations guy. I'm feeling very blessed and breathing deeply knowing that it is within driving distance.
Just for fun, check out this short & sweet article on the #staymarried blog about actor Tom Hanks and his 25-year marriage to Rita Wilson. For all the terrible marriage role models in Hollywood, they get major props. And I love what he says about her, "That woman has loved me skinny, she's loved me fat. She's loved me bald, she's loved me hairy. That woman, I know, she loves me. So I'm a lucky man."
Strider and I may just be at the beginning, but I'm feeling pretty lucky too!
12.04.2013
11.22.2013
a shower, a shower & a shower
That's
right...three showers in one title!
Shower
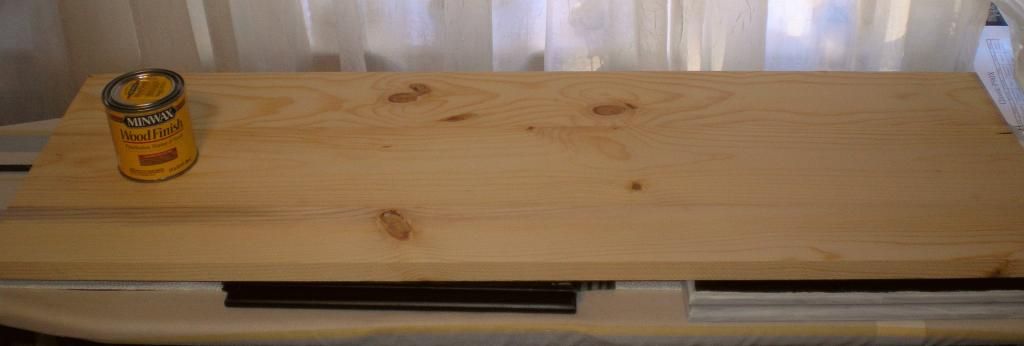
No. 1 is the hole and water damage in my bathroom wall that's been slowly repaired all week by a guy named Mark—no
worries, the damage has only been there since I moved in...2+ years ago (slightly
ashamed). Thankfully, it should be fixed and ready for me to repaint
Monday. Can I get a "woot woot" for apartment makeovers between now
and January to get ready for Strider moving in!
Shower
No. 2 is my absolutely incredible bridal shower
earlier this month. Hosted by my amazing mom and sister, I simply could not
have been happier with the whole event. Checkout the pics of my gorgeous bridal
tea:
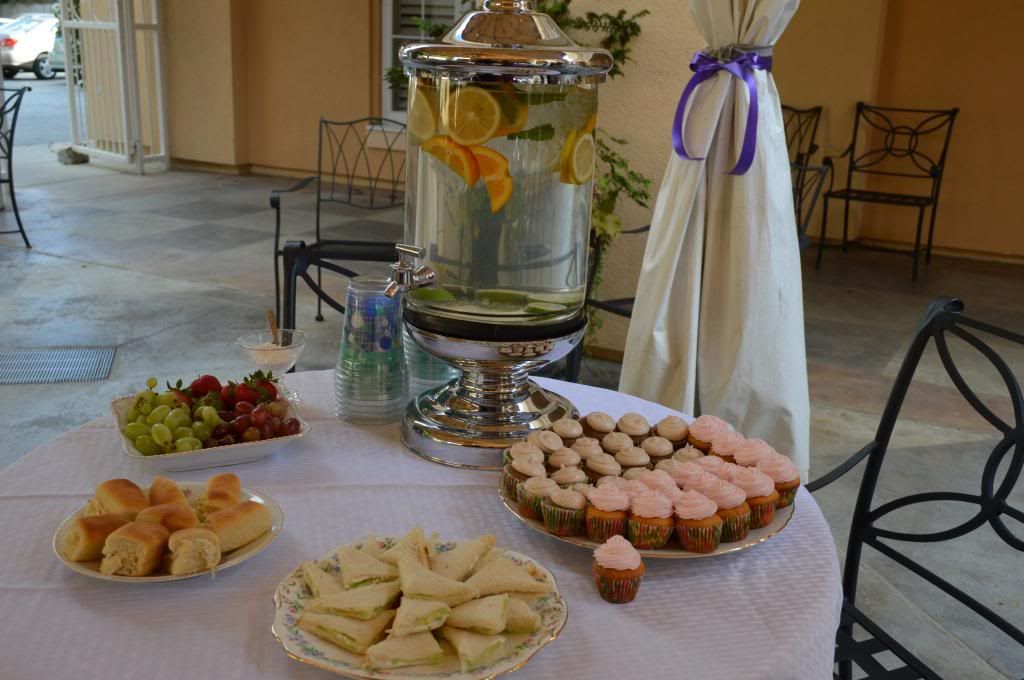
The menu: mini chicken salad rolls, cucumber
finger sandwiches, vanilla bean scones, mini spice cupcakes with cinnamon-cream
cheese frosting, and mini vanilla-raspberry cupcakes with pink vanilla
buttercream
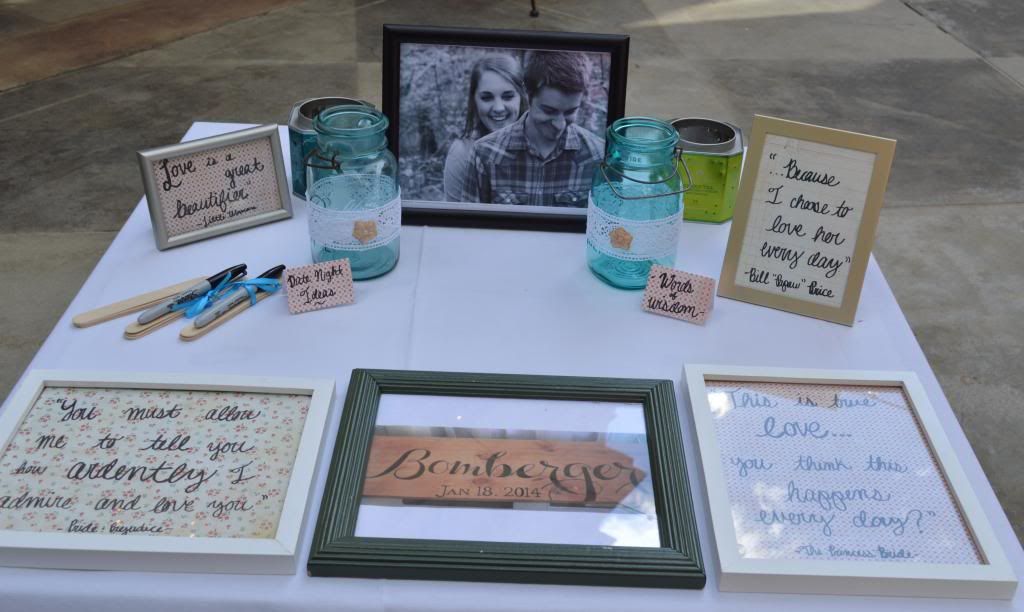
My sister's idea: to have all the guests write
date ideas and marriage advice on
popsicle sticks then drop them in mason jars for me to read later. So fun!
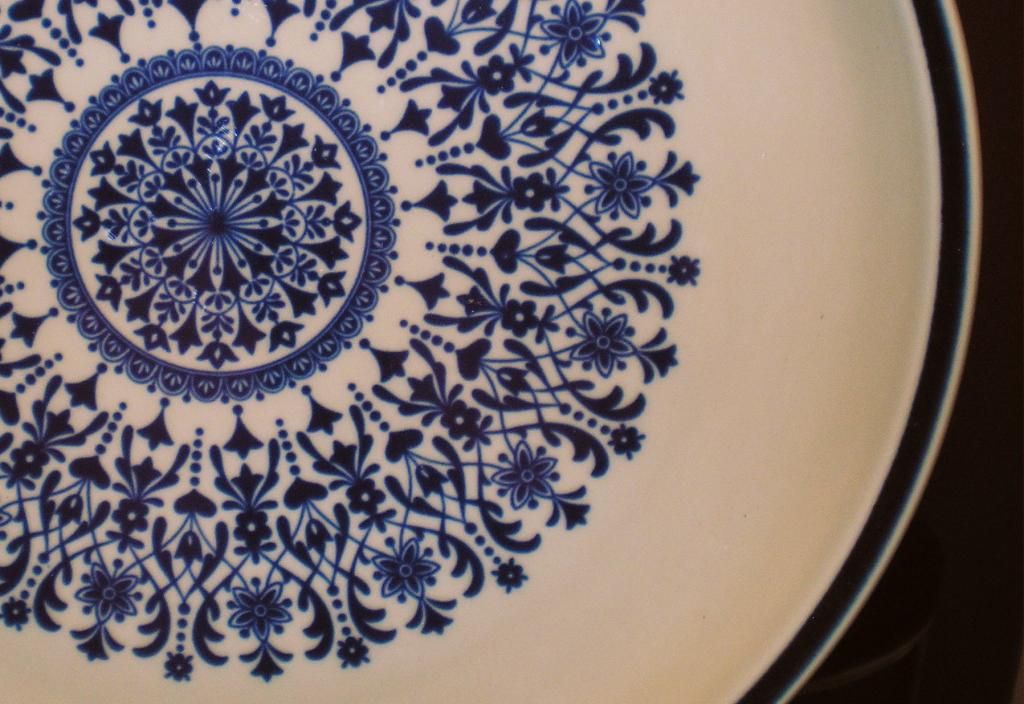
Look at these breathtaking tables - complete with real china tea sets,
English-style tiered tea stands, and personalized favors.
Mom put pictures of Strider and I across the tea table with mini strands of lights - I LOVE tiny twinkly lights.
Please notice the real tea tins with holes punched into them to use as tealight lanterns!
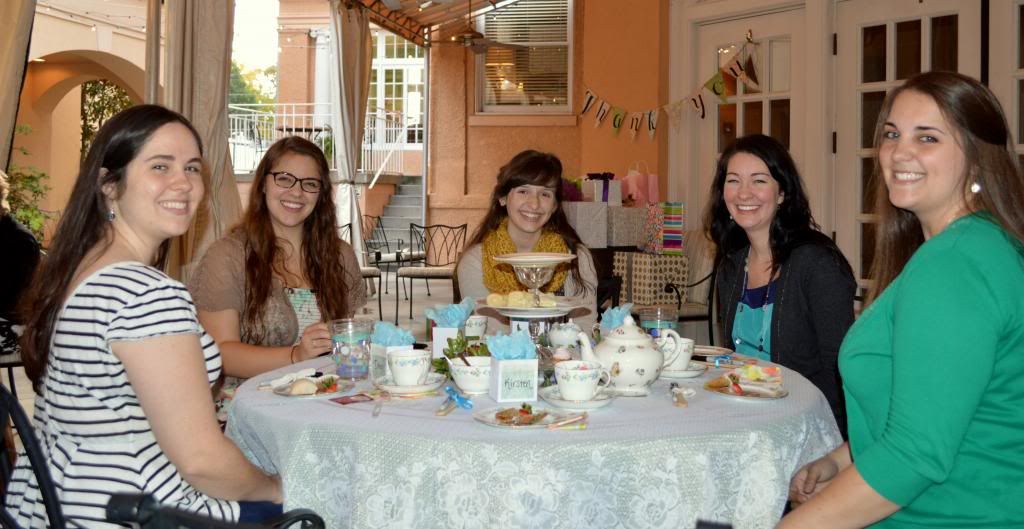
Some lovely ladies enjoying their tea and tasty treats. (me in green, my sis in the cool specs)
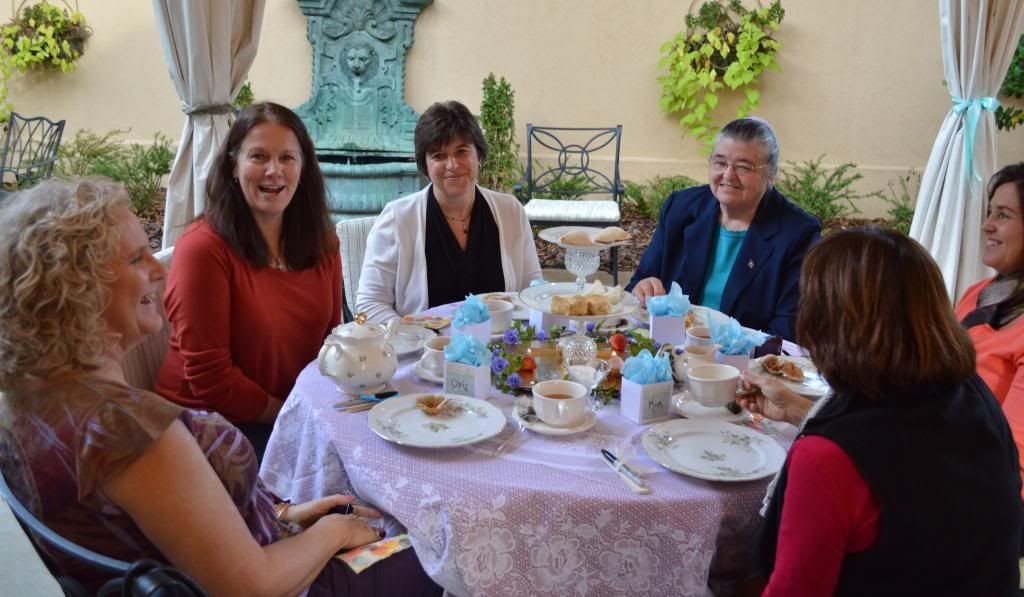
My mom “acting natural” (haha) and Strider’s
mom (b&w), grandmother (blue), and aunt (coral).
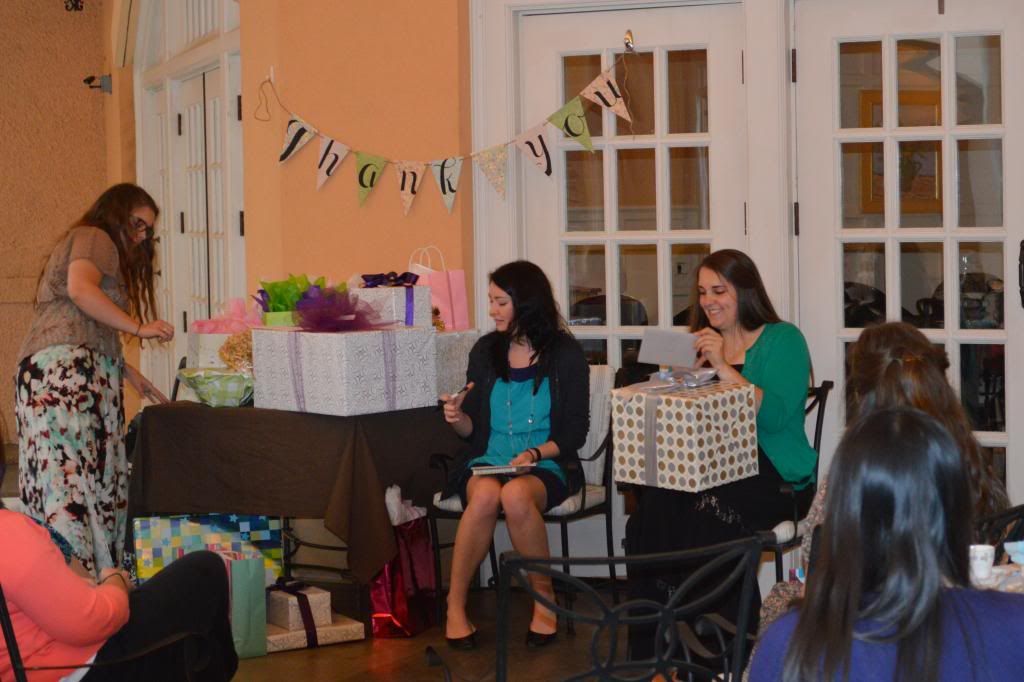
Opening all my sweet gifts. And hey, check out
that crafty thank you banner back there!
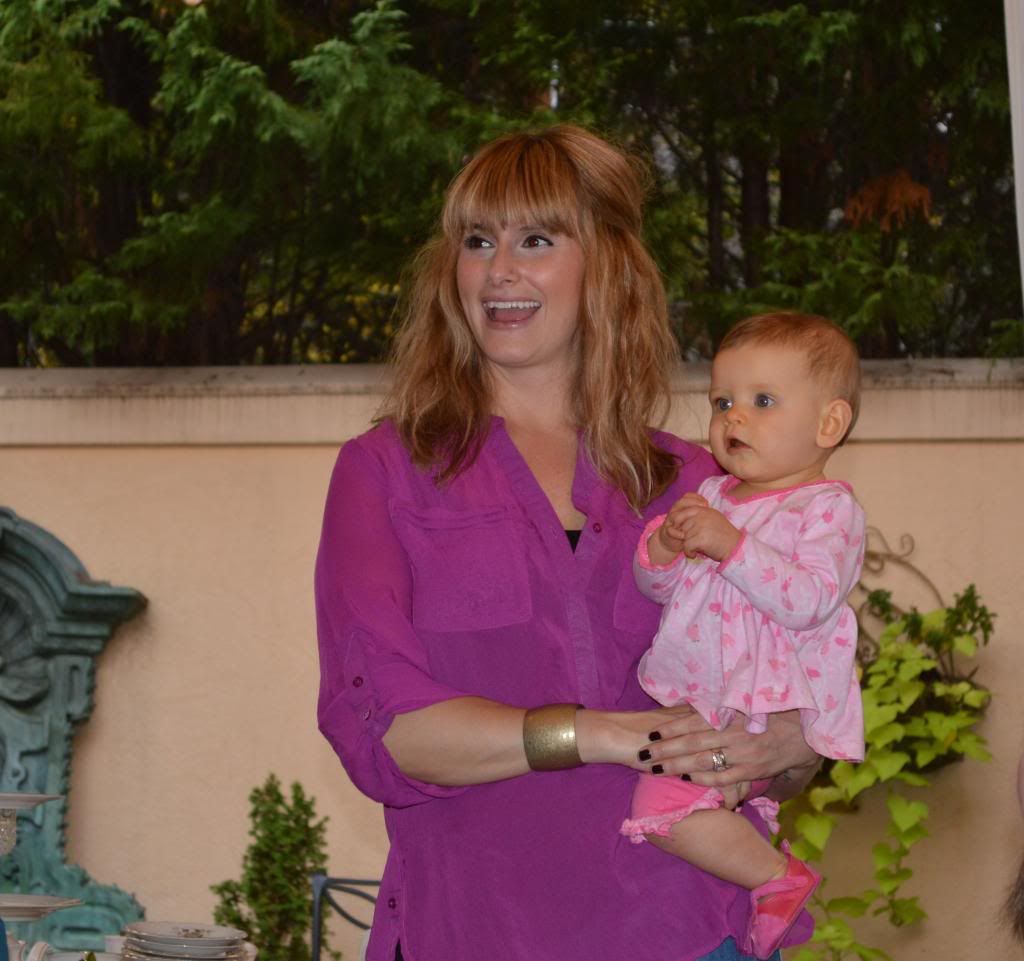
My precious cousin Lindsey and sweet baby
Reece...like mother, like daughter.
And that concludes this photo tour of the world's most lovely bridal shower! (Okay - maybe the author is a teensy bit biased, but it is pr-ee-tty incredible!) Thank you so much to all the ladies who made this possible—and a special shout-out to Lydia, who's help that day was infinitely appreciated.
Thought I forgot about Shower No. 3 huh? That would be the random actual downpour that occurred about halfway through this beautiful tea
party. Thankfully, the courtyard was mostly covered!
11.08.2013
mrs. organized-schmorganized
Though not exactly splashed across the glossy pages of bridal magazines, wedding organization tools have a fairly strong market to today's modern Mrs-to-be. There are tons of great planners, binders, etc. out there bursting with more lists than any bride ever needs. However, I must admit that since our wedding is a bit non-traditional and I like being able to manage my own organizational tools (read: too broke to spend money on non-essentials like a bridal binder), I decided to make/find all my own organization tools.
Today, I'd like to share some of these great finds and self-created sheets for anyone else out there navigating the wedding world. Just, ya know, in case you're interested.
First off is the Guest List Master spreadsheet. I've updated this beast a ton since our original guest list conversations, but it has been immensely helpful to keep track of everything. Click the link, download the file from Google Docs, then save it to your own computer under whichever name you choose. Then, just plug in all your standard guest info: names, addresses, etc. (I only included email addresses because we sent our Save the Dates via email.) I recommend doing one line per invitation, so if you're inviting a couple, put both names in the first names box. If the couple aren't married or have different last names but they're receiving one invitation, just put a slash between the names and included both names in the last name box. If you do it that way, when you've finished, the number of rows should tell you approximately how many invitations to order, while the number of guests invited will give you an approximate for your head count.
Last notes: I also chose to color-code each different group of guests so I could see what our demographic would look like and just to keep track of everyone more easily. You'll also notice that there are two additional tabs at the bottom of the spreadsheet. One was for my bridal shower and the other was for any secondary receptions you are having in a different location (like we're doing in Strider's hometown). This way you manage all your different guest lists in one location. I highly recommend printing off the shower list when you're done and taking it with you - that way your gift assistant can write the gifts right next to the guests names and you can just check off the thank you box once you've written them later. Easy-peasy!
Since we aren't hiring any vendors, I don't have a sheet to keep up with that, but another helpful resource I've used is The Knot's Ultimate Registry Checklist. My advice is to first go through and just take off all the stuff you know that you will not be registering for or that is really just unnecessary (there's a lot of that). But then print it off and use that as your master to keep notes on as you register and think of important things to add that aren't a part of their sheet **cough cough** board games.
Additional spreadsheets for your perusal:
- Contact Sheet: for vendors & bridal party - helpful to keep on hand and to provide to your day-of coordinator
- 8-Month Planning Timeline: I came across tons of helpful wedding timelines right after we got engaged and I was at a bit of a loss for where to start -- BUT they were ALL either 12 months of 6 months. Since our engagement is 8 months long, this is the average that I came up with. It's worked very well so far allowing for lots of handmade projects. If anything, I've stayed pretty far ahead of schedule. Only warning is to go early on the dress - alterations and shipping timelines are cutting it close!
Where to put it all your print offs of these beautiful organizational tools, you ask? Ditch the $25 bookstore planners and head to Office Depot for a $2 three-ring binder. Punch all your sheets and just clip them right in. Easy & cheap. I also had fun decorating the front of my binder with a quote to keep in mind:
"At the end of the day, if you are married to your best friend,
then everything went according to plan."
BONUS TIP: Since color palettes look totally crazy on different computers and it's hard to communicate exactly the shades you're planning with out-of-state bridal party, head on down to Lowe's and grab paint cards in your perfect colors. Get one swatch or set of swatches for each bridal party member and for yourself, walk out spending $0, then hole punch them and put them on a hinged O-ring to send to each attendant. This way they see exactly what your colors are and you can slip your own set into your 3-ring binder for easy keeping. Brilliant!
Happy Organizing!
10.31.2013
frightful tales of wedding registries
Welcome to the haunted house of....Registry Dinnerware! OooOOooo!!! (and other scary noises)
The Trial: Although initially perceived as a super fun pre-wedding checklist item, completing and maintaining our wedding registry has been a veritable nightmare...a time-suck that recently resulted in me arguing with a "clearly-not-really-named-Dave" Target customer service representative.
Regarding dinnerware, I went, as brides throughout history have done, straight to a reliable source...a trusted name grandmothers and mothers everywhere tout without exception: Pfaltzgraff. We immediately found a gorgeous pattern that we both loved, and I set to work coordinating the rest of our kitchen accoutrements. Then came the product reviews...DUH DUH DUH...it became clear that this once-great dinnerware titan has fallen. Apparently, no one is immune to the reduced price tag of exported labor. Dinnerware choice #1 - Disqualified for poor performance and sustainability. You would have been well loved.
To make a long story short, I regrouped and re-registered for our second choice set. Then, we watched sadly as our second, third, and fourth dinnerware choices were each quickly discontinued and labeled "Out of Stock" in turn. Curses upon you Target and Bed Bath & Beyond.
The Tribulation: Strider and I randomly visited an antique emporium in a nearby town where lo-and-behold there lay a beautiful dinnerware set. Only missing one plate, this almost complete set was pretty, sturdy, and wait for it....... ....only $30! We looped the store to make sure it wasn't just a trick of the light, but returned to realize, that this was it, boys. Our dinnerware search was done. It's a wrap! (Seriously though, it requires a lot of bubblewrap to box up an entire dinnerware set.)
All in all, I'm thrilled just to take the stupid plates off the registry and to think of our sweet post-wedding antique dinnerware all snuggled way up in the cabinets, just awaiting their new life in January. Plus, we may still get some of the cool other dining stuff that is still on the registry to go with them, who knows.
Instead of telling you about all the other items that we've also had to replace due to being discontinued (it's a shocking long list, folks), I'll just share a pic of our gorgeous new plates.
Yaaayyy!
10.09.2013
100 & 100!!!
Today is my 100th blog post AAANNDD exactly 100 days from the wedding! Woo! Hoo!
Anyways, to get on to a fun tutorial for today...I give you, the guest "board"! Basically, this craft came from the fact that I don't completely understand the point of guest books at weddings. Everyone signs them but then you put it in a box somewhere and probably never look at it again. So to remedy that pointlessness and to give Strider and I something cool for our new digs (once we find a home, that is), I set to work.
First, (you guessed it) I went to Lowe's. I snagged a great piece of pre-sanded pine board for around $9. The size was a bit in question because I didn't want it to be huge but not too small that people couldn't sign it either. The piece I chose is around 1' x 4' but it could vary depending on your preference and the length of your last name. I then headed over to the paint/stain aisle and picked out a small can of a nice Golden Pecan by Minwax ($5).
Next, I typed out soon-to-be-OUR last name in Word and printed it out, using the font from our invitations naturally. Once home, I sat down with pencils and erasers (a lot of erasers) and carefully free-handed it on the board to match the print-off, just on a larger scale. Crafting honesty = this bit took ages to get just right.
I then carefully traced my final lines with a fine tip Sharpie. I let it dry an hour or so just to be sure then used a sponge brush to apply the wood stain. I did two coats, front and back, allowing it to dry completely between each.
Photo above is post-stain, though my camera doesn't really pick up all the golden hues it brought out. Once the staining was done, I took a very small paintbrush and some liquid black acrylic paint ($1) to fill in the letters and create smooth edges. This bit also took a while, but a steady hand doing one coat should be sufficient.
After that dried overnight, I took it outside and sprayed it with an aerosol clear Polyurethane. I didn't want to use a painted sealer in case the acrylic smeared, but once the aerosol layer dried, I did go back and back two cross-hatching layers of satin Polyurethane with a brush to seal it really well. After the wedding, I will seal it again with everyone's contributions to make it a permanent fixture for our new home. Final product = ta da!
Thoughts on other non-traditional guest "books"?
Hope you like it!
9.25.2013
winner wednesday!
I actually really wanted the title of this post to be "Winner-Winner-Chicken-Dinner Wednesday" but felt like it was a tad bit (sarcasm) too long. Either way, I am very excited to say:
CONGRATULATIONS!
to my first-ever giveaway winner...Susan O! Check your email and you should have a note from me with instructions on how to get your awesome autumn giveaway set.
Thanks everyone for reading and keep an eye out for more fun giveaways in the future.
9.23.2013
diy autumn coasters & my first giveaway!
Autumn is officially here and I could not be more excited!! 55 degrees outside, cup of coffee in hand. More accurately, this is me -------->
So...to commemorate all this excitement, I have a fun, cheap, and easy DIY project to share:
Handmade Tile Coaster Sets
Naturally, I saw the idea somewhere else online (probably Pinterest) and there are a lot of tutorials out there, but this is the way I've found works best.
Materials needed:
- 1 to 4 sheets of scrapbooking paper depending on if you want all the coasters to match or to create a themed set like I did (approx $0.30 each)
- jar of matte finish Mod Podge ($4 and up at Hobby Lobby)
- 1 to 2 small sheets of felt in the color of your choice ($0.25 each at Hobby Lobby)
- hot glue gun and glue sticks (ranges in price but I have a $3 mini one)
- 4 to 6 tiles depending on how many coasters you want in your set (the cheapest ones at Lowe's are labeled 4"x4" Biscuits and are $0.16 each)
- small can of clear satin water-based Polyurethane ($7 at Lowe's)
**Edit 9/25/13 - This giveaway is now closed. Please keep reading in the future for more giveaways, tutorials, and other random fun stuff. Thanks!**
So...to commemorate all this excitement, I have a fun, cheap, and easy DIY project to share:
Handmade Tile Coaster Sets
Naturally, I saw the idea somewhere else online (probably Pinterest) and there are a lot of tutorials out there, but this is the way I've found works best.
Materials needed:
- 1 to 4 sheets of scrapbooking paper depending on if you want all the coasters to match or to create a themed set like I did (approx $0.30 each)
- jar of matte finish Mod Podge ($4 and up at Hobby Lobby)
- 1 to 2 small sheets of felt in the color of your choice ($0.25 each at Hobby Lobby)
- hot glue gun and glue sticks (ranges in price but I have a $3 mini one)
- 4 to 6 tiles depending on how many coasters you want in your set (the cheapest ones at Lowe's are labeled 4"x4" Biscuits and are $0.16 each)
- small can of clear satin water-based Polyurethane ($7 at Lowe's)
- Start with a trip to Hobby Lobby. Spend forever picking out your paper, decide how many coasters you want, and end up buying something unrelated just because it's Hobby Lobby.
- Take everything home and set it all out on your desk. Breathe in the inevitable, glorious anticipation that comes with the beginning of a new project. Then, proceed to cut out 4"x4" squares of the paper and felt.
- Wipe the tops of the tiles off with a dry cloth to remove Lowe's dust, and use a thin coat of Mod Podge to apply a paper square to the top of each tile. Set them aside and let them dry.
- Once dry, apply a thin coat of Mod Podge to the whole surface of the tiles, especially around the edges of the paper to seal them. Let dry.
- Next, apply 2-3 coats of Polyurethane to each of the tiles. Mod Podge is great as a basic crafting glue but it isn't really waterproof - the Polyurethane helps seal the tiles so they're safe to use with drippy, condensation-ing drink glasses. Let dry fully between each coat.
- Once everything is totally dry, use your hot glue gun to apply one felt square to the back of each tile so they don't scratch furniture.
- Stack them up and impress your guests with your crafty awesomeness! (and secretly love the fact that, all told, you only spent about $3)
And since fall is here and I made these coasters for no real reason, I am super excited to announce:
the first-ever giveaway on A Song for the Birds!
That's right, this super cool autumn coaster set can be yours! Plus, a pair of snuggly socks and
NC local bath salts...man is that a great giveaway, am I right?
Just leave a comment below letting me know that you were here and by Wednesday,
I'll randomly select one reader to win! Plus, who knows...I may throw in some other awesome stuff as a last minute
surprise (wink!). Just my way of saying thanks for reading and that I hope your autumn is awesome!
**Edit 9/25/13 - This giveaway is now closed. Please keep reading in the future for more giveaways, tutorials, and other random fun stuff. Thanks!**
Subscribe to:
Comments (Atom)